Using a Flash

In this first photo, I properly exposed the subject, but by doing this, the sky is over exposed.

In this photo, the sky is properly exposed, but the subject is under exposed. By keeping these settings and adding a flash, we can keep the sky nicely exposed and light the subject as well.

I honestly don’t like the way it looks since it’s so unnatural but it works.

Deep + Shallow Depth of Field

There are two kinds of depth of field; deep and shallow. A deep depth of field indicates that everything is in focus, background, subject and foreground. In a shallow depth image, only the subject is in focus. I much prefer shallow depth of field, as it really draws your eye into the subject and provides contrast in terms of sharpness.

Dead Leaf: 3/1/21: 35mm: f/4.5: 1/1600sec: Canon EOS Rebel 17:

Weed: 3/3/21: 35mm: f/5: 1800/sec: Canon EOS Rebel 17:

Track team on the field: 3/3/21: 35mm: f/19: 100/sec: Canon EOS Rebel 17:

Reflectors

This is a photo taken without the use of any reflectors. You can see the difference in the photo below, where we used a silver reflector. His face and eye cavities are now well lit and you can see under his hat better

In this next photo, we used a black reflector to block the sun reflecting from the bleachers below.

And in this photo, you can really see the gold reflector that we used on the left side of the photo. I really don’t enjoy this look.

Composition Tools

Rule of Thirds

The rule of thirds is one of the most well known rules of composition. It makes photos easier to read and more appealing to the eye. 

http://faroutcity.com/lets-take-a-pretty-picture-the-rule-of-thirds/

You can see in this photo, the statue falls right along one of the vertical thirds line, while the head–the focal point– sits right on an intersection.

I did the same thing with this photo, placing my subject right along the third lines. 

Depth of Field

Depth of field is a measurement of what is in focus and what is not in a photo. It adds interest and helps the viewer know what to look at. 

https://posterjack.ca/blogs/inspiration/understanding-depth-of-field-photography-basics

In this photo, everything except the puppy and the rocks he’s standing on are out of focus. 

Here, you can see that the background is still readable, though blurred, which draws the eye mainly to the ring, which is very in focus. 

Leading Lines

Leading lines in a photo guide the viewers eye to the subject. 

Photo by David Em

In this photo, the man is very easy to look at, very obvious in the center despite his color pallet being close to his surroundings. 

In this photo. both the fence and the power lines lead you to her face. 

Freeze + Blur

Freeze:

Motion is frozen with a shutter speed of at least 1/500 sec.

Frozen flag:2/9/2021 1:33pm:35mm:f/13:1/640 sec: Canon EOS Rebel 17:


Jump:2/9/21 1:37 pm: f/13:1/640 sec: Canon EOS Rebel 17:


Blur:
Motion is blurred with the use of a shutter speed typically under 1/100sec.


Stick Blur:2/11/21 5:23pm: f/17:1/20sec:Canon EOS Rebel 17:

Yellow Car:2/2/21 5:23pm: f/17:1/40sec:Canon EOS Rebel 17:


Past Photography

I know nothing about photography. I’m a take-a-picture-of-a-sunset-cause-it-looks-nice and cropping-is-the-most-editing-I’ll-do kind of guy.

So here’s some basic sunset photos I’ve taken. All on my phone, of course.

Because I’m an artist, I also take photos of my art, which I have a habit of editing in order to make the images clear and readable.

My third most frequent subject is my dog. I really like this photo of her just because she looks so angry. The second one is nice too.

And finally, this photo of a tiny paper crane that was gifted to me.

Adding Audio to Video

This here started out as a silent short film, and after watching it several times and trying to pinpoint the sounds, I got to work recording and finding files that would fit.

There’s several tracks here and several sounds that overlap on each other. I think the beginning part works the best with the sounds I have, and it almost feels like it was recorded with that audio there.

30 sec radio ad

This is my little radio as for the product ‘dog’. I picked it cause my dog was running around and being crazy so I figured I’d try and sell her off…. (not really I love her very much). So I did this using Adobe Audition, my voice and my guitar. I just wrote up a little script and threw in some backing music of my own, something simple half because I was being lazy and half because I didn’t want it to be distracting.

15 second animation….


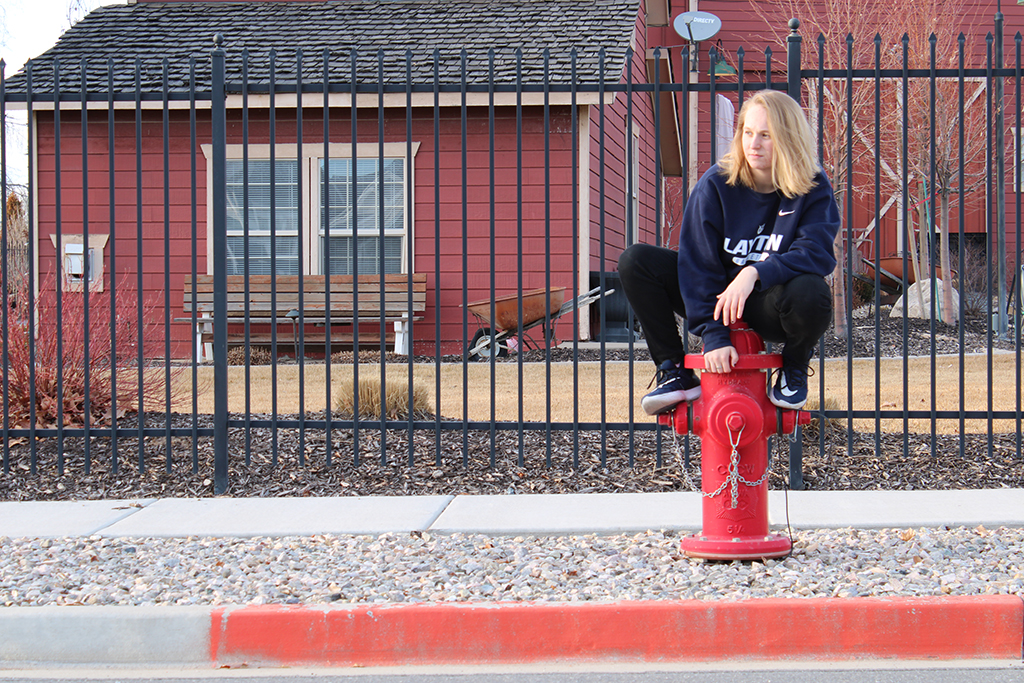
here she is… This absolute monstrosity that somehow took over several months of my life and still looks like garbage…. All I can say is thanks, Animate. You suck. I’m going to develop carpal tunnel because of this project.

Anyway, all bitterness aside (well maybe not all bitterness), I spent a long time on this. Far longer than I should have. And I’m still really dissatisfied with the outcome. I don’t know what else to say. It’s choppy and not as clean as I wanted, but it’s alright I suppose. Maybe it’s just me.

So my animation tells the story of Bucky Barnes, my favorite comic book character. I figured if I was going to be drawing something hundreds of times, I might as well make it something I like. So I picked Bucky. I drew from both the comics and the movies, as I picked the comic’s ‘death’ of Bucky Barnes, but went with the movie’s ending. I think my favorite bit is the very beginning, because little Bucky Barnes in his little sidekick outfit (I know I drew him more like a child than he actually is) is just really cute.

I also made the mistake of animating a camera pan. I dont know why I thought that was a good idea but I did it anyway. I worked on that airplane scene towards the end so at that point I was really frustrated and in a lot of pain, so it didn’t come out the best but it’s alright I think. I was going to go through and smooth it out, add more frames and such, but I was so done with this project that I just decided it was good enough and decided to be done.

Anyway, after completely wrecking my hands and crying several times over Animate’s terrible drawing features, I spent the next hour exporting and compressing and editing the .gif so it didn’t look like garbage and was a decent file size. I then uploaded it here.

I’m going to go nurse my hand and take a nap.

Camera Angles and Technique

The first shot I liked was this over-the-shoulder shot. It’s real common but it’s useful, as it sets up the feel and situation of a scene.  Below I have a picture of my little sister and my dog, demonstrating the shot. It’s a little comical, I think, since my dog is kind of goofy looking but it works well nonetheless.  The next shot I liked is this high angle shot. It worked well with my dog, because that’s how people see her all the time anyway. It’s effective because it can tell a lot about a character and their situation in just one shot.

The next shot I decided to test out is the choker. It was a little hard to do because my subject is…well, a dog. But I liked the shot enough that I wanted to do it. I like it because it’s dramatic and really good for portraying emotions.

This long shot was another one that I really liked. It works well to set up the environment as well as the character’s position in that space. Below, I have a picture of my sister and the dog, and I think it’s a rather nice picture. It sets up the area well, as well as the character’s relationship to the space as well as each other.

The final shot I chose is this full shot. It’s effective in that it shows the whole subject, allowing the viewer to understand the whole character. It can work well as an establishing shot for a movement or an action.

Design a site like this with WordPress.com
Get started